User Import / Export Extension
The User Import/Export Extension will be deprecated in September 2025. You can access the same features now available directly in the Auth0 Management Dashboard.
- Bulk import your existing database users into Auth0
- Search for and export some (or all) of your Auth0 database users
Install the extension
To install this extension, go to Auth0 Dashboard > Extensions, and select User Import / Export. The extension does not require any additional configuration before it can be installed, so select Install in the informational pop-up window to proceed.Use the extension
After you’ve installed your extension, you’ll see it listed in your list of installed extensions. Click on Import / Export Extension to launch. You’ll be asked to grant permission for the extension to access your Auth0 account for the listed activities the first time you launch the extension.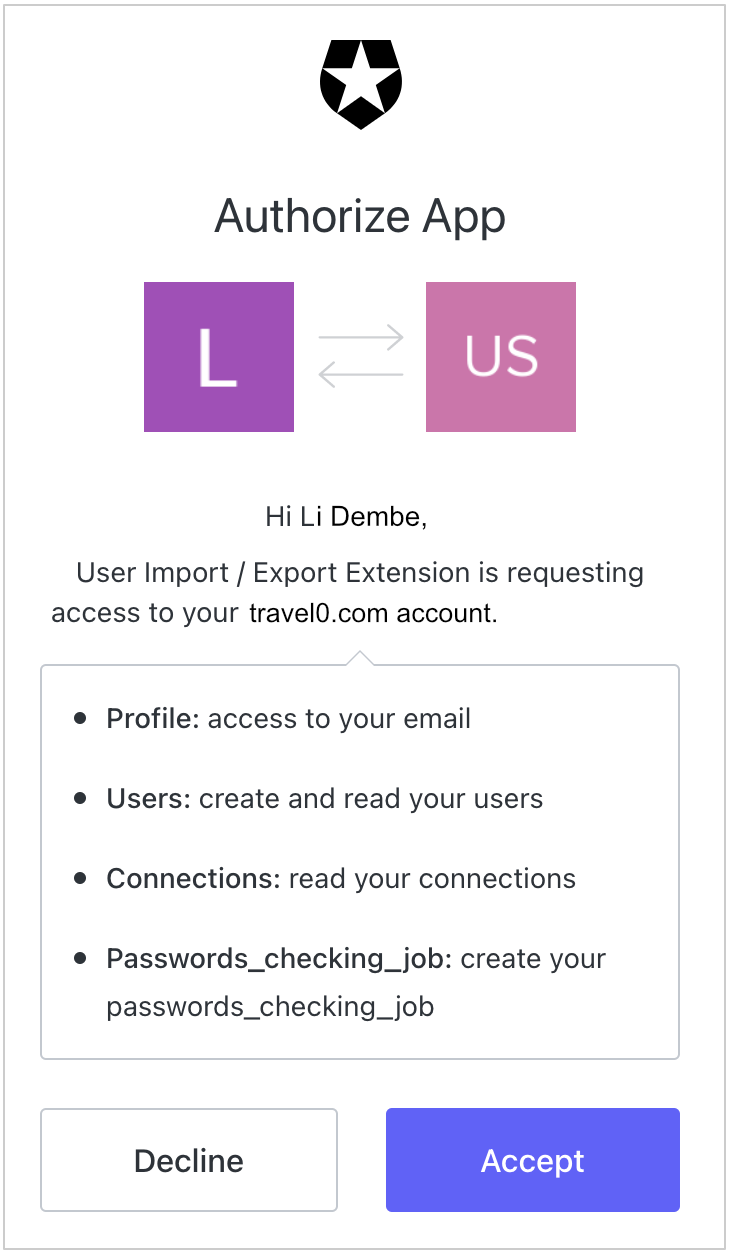
- Bulk import your existing database users into Auth0
- Search for and export some (or all) of your Auth0 database users
Import users
By default, any time you open the extension, you’ll see the User Import screen (if you’re on the export screen, you can return to this screen by click Import in the left-hand navigation bar). To import your users, drag and drop a valid JSON file (schema and examples here) onto the area that says Drop your file here, or click to select. Alternatively, you can click on this area to browse your files and select the appropriate JSON file. The JSON file should contain the list of users that you are planning to import.If you are using an export file from an Auth0 tenant, you must convert the exported file from
ndjson to JSON. To keep the same user IDs, you must remove the auth0| prefix from all imported user IDs.The import process automatically adds the auth0| prefix to the imported user IDs. If you do not remove the auth0| prefix before importing, the user IDs return as auth0|auth0|...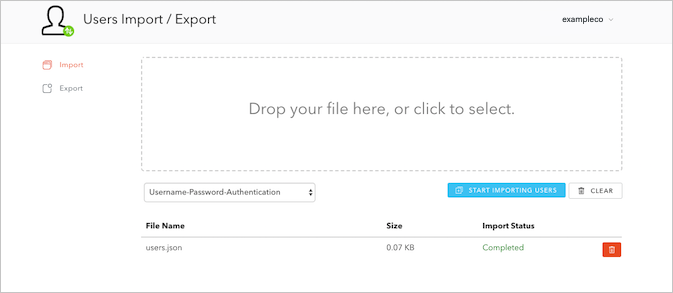
Export users
Auth0 uses the ndjson format due to the large size of export files. Before you can import users, you’ll need to convert from ndjson to json using the library of your choice (such as jq). When exporting users intended to later be imported, user field names should be left as their defaults and not mapped to a Column Name.
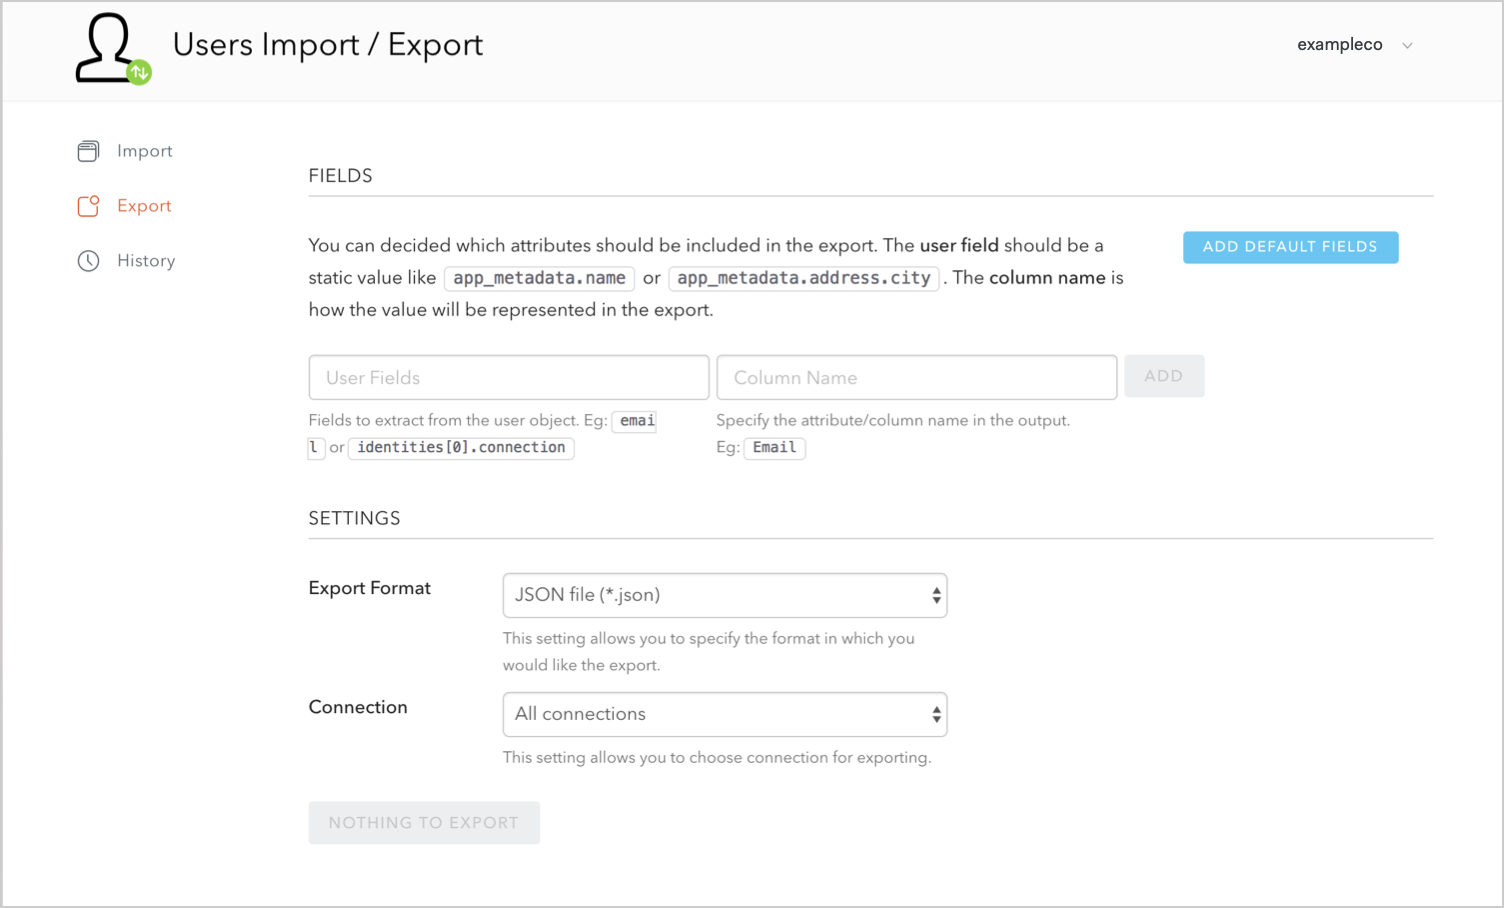
user.user_metadata.name, or it can be a JavaScript expression like user.user_metadata.name || user.name. Expressions will be evaluated during the export runtime. The column name value is how the value will be represented in the export.
You can click the Add Default Fields button to automatically select the default fields and populate their column names (this is also a good way for you to visualize how parameters/expressions will appear).
You can remove extraneous attributes/expressions by clicking on its associated trash can icon.
Under Settings, you can:
- Configure how your exported users are listed by providing a User Attribute by which users should be sorted (as well as whether the users should be sorted in ascending or descending order)
-
Choose your Export Format; you can choose between JSON and CSV files
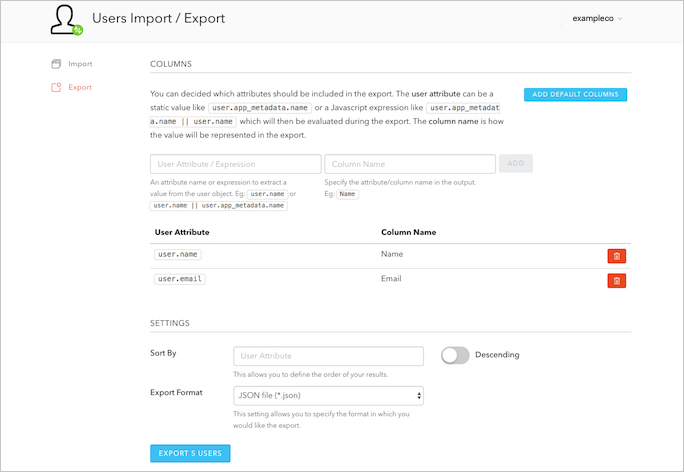
X is the number of users you’re exporting).
You can download the file containing your users when the export is complete; you may need to use a third-party extraction tool if you run Windows 10 or lower.
Update Users
The Auth0 allows bulk user profile updates touser_metadata and app_metadata with the User Import/Export Extension.
Auth0 does not currently support bulk import for Passwordless. Use Auth0 Management API to update users individually.
Export users
Using the export process above, create a complete export file including all your user attributes. Choose the JSON format for your export. Download the file containing your users when the export is complete.Update your configuration
Make a copy of the JSON file you downloaded in the previous step.This process can result in data loss. Create a backup of your user database in the event of data corruption.
The Id must have a unique
connection|id. If the same user Id exists in multiple connections, your update will fail.email_verified attribute to multiple users and set the value to true.
This process cannot block multiple users. You must block users individually in the Auth0 Dashboard or with the Auth0 Management API.
Import updated user profile data
Theusers-import endpoint allows you to upload your updated user profile file and update several users in one job. Navigate to the Create import users job endpoint.
Add your user file to the users parameter and add the database connection ID of the database you want to update.
The upsert value should be true to update the already existing user information.
To add your updates, select Try or use Postman to import the users.
Use the job_id to verify the status with the jobs endpoint.